Module Overview
This module examines higher complexity designs where effort can not be minimized. It enumerates the sources of manufacturing effort and techniques for reducing relative effort.
YOU WILL LEARN
- How manufacturing effort scales for tolerance, geometry, part size, material, and look and feel design parameters
- Techniques for reducing effort while still fulfilling design requirements
Managing Incremental Manufacturing Effort
In the first module, we explored the design requirements of the Least Effort region of the manufacturable zone. Designs within the Least Effort region have large acceptable compliance and simpler geometries. Most designs are more complex and fall into the Incremental Effort region. Designs in this region have a design requirement that leads to higher manufacturing effort, such as tighter GD&T requirements, higher geometric complexity, or more demanding look and feel.

In this region, effort increases at a higher rate than in the Least Effort region. Each parameter is characterized by its own effort function that scales at a different rate. The schematic below gives an idea of the relative rates for each parameter.

Manufacturing effort compounds if a design has multiple high requirements. For example, manufacturing effort increases exponentially when tighter tolerances are combined with a larger part size.
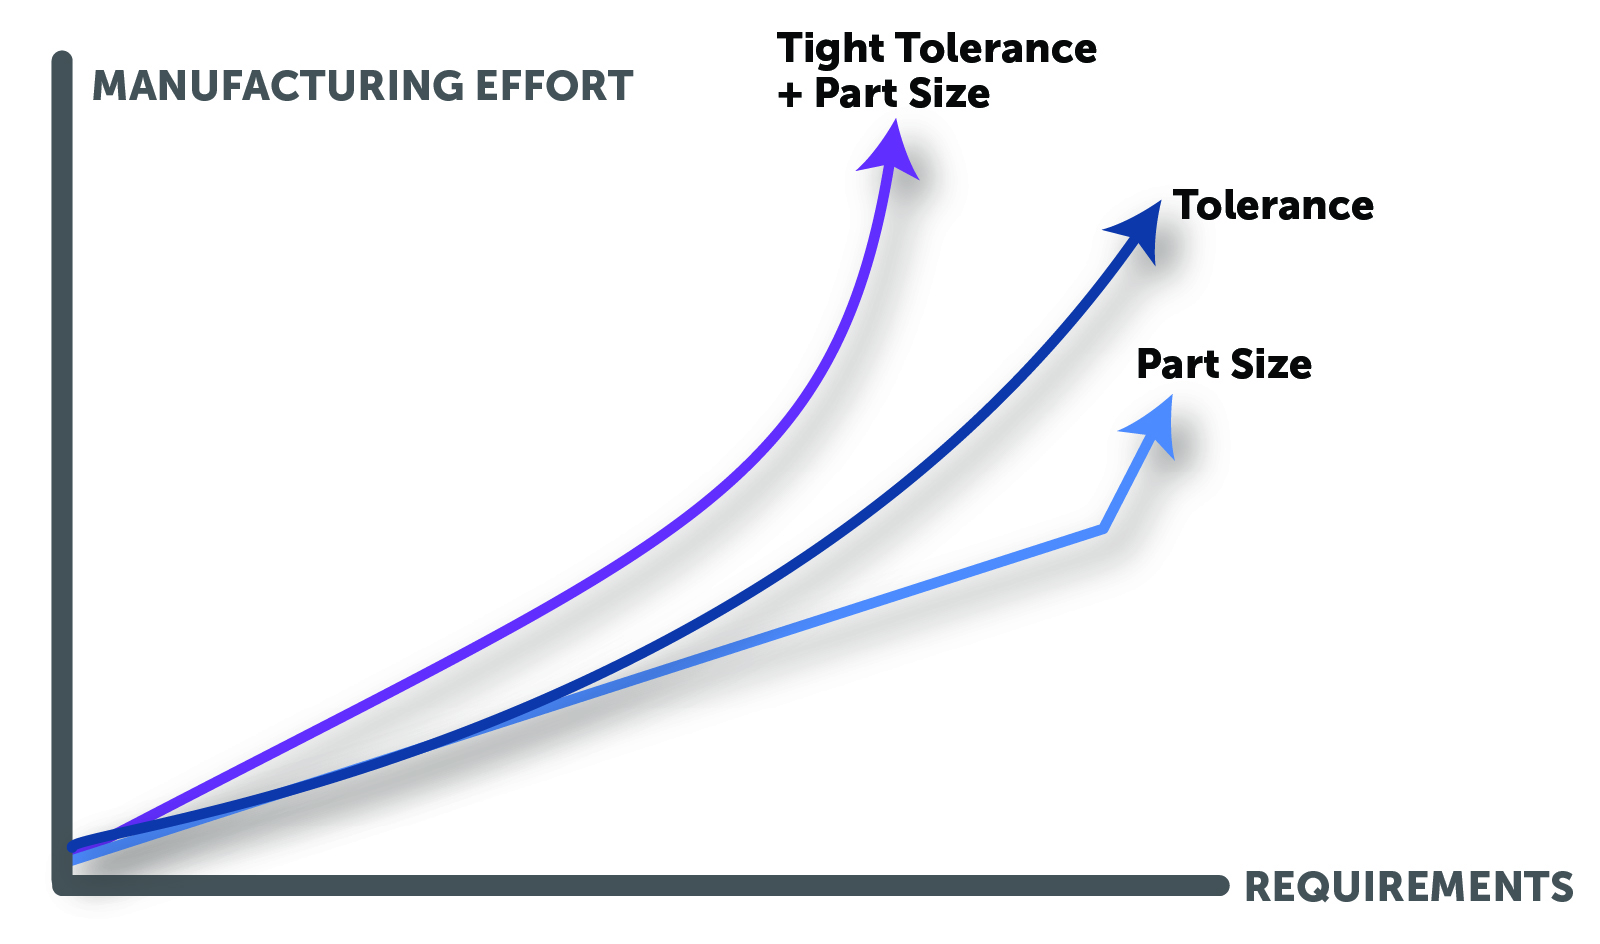
CNC Machining Effort in the Incremental Region
The key to managing effort in the incremental region is keeping effort low for as many parameters as possible. Because of compounding effects, there is a much higher effort if multiple parameters are in the Incremental Region, rather than just one.
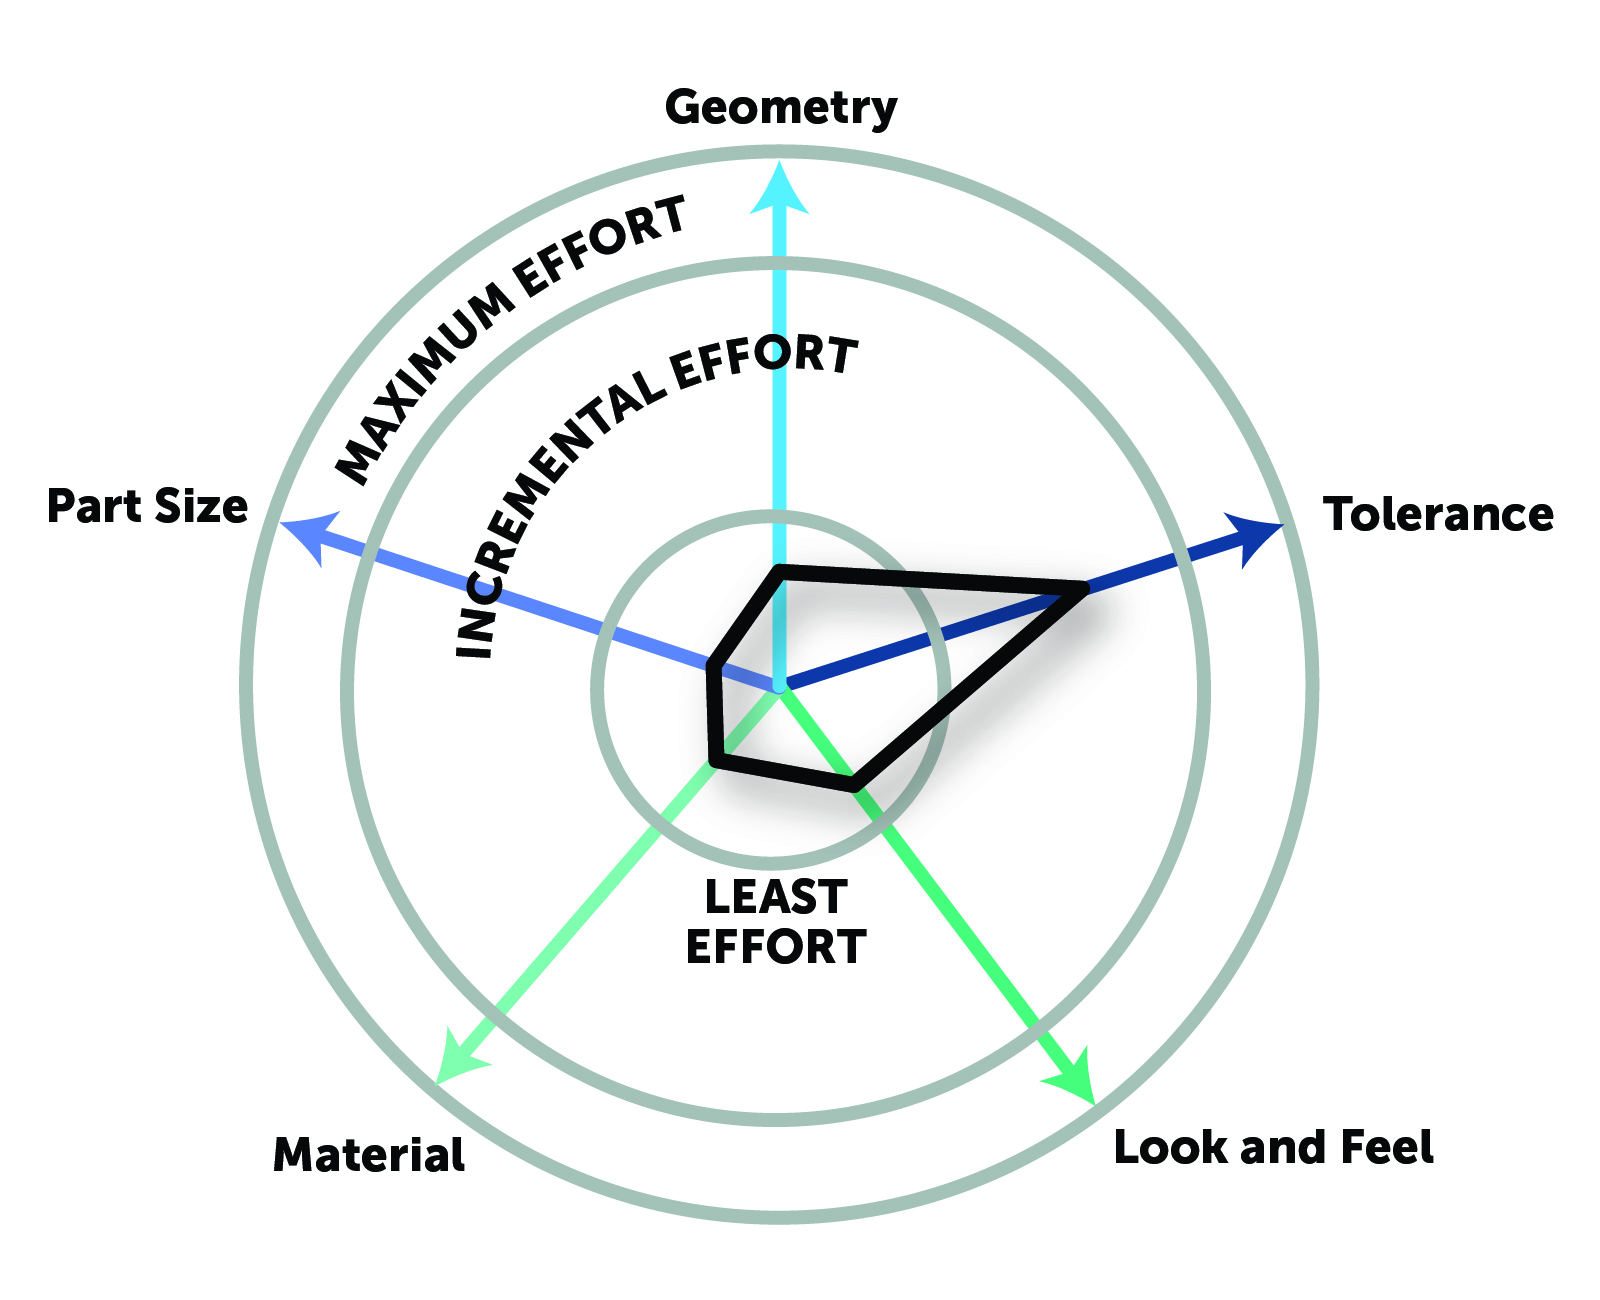
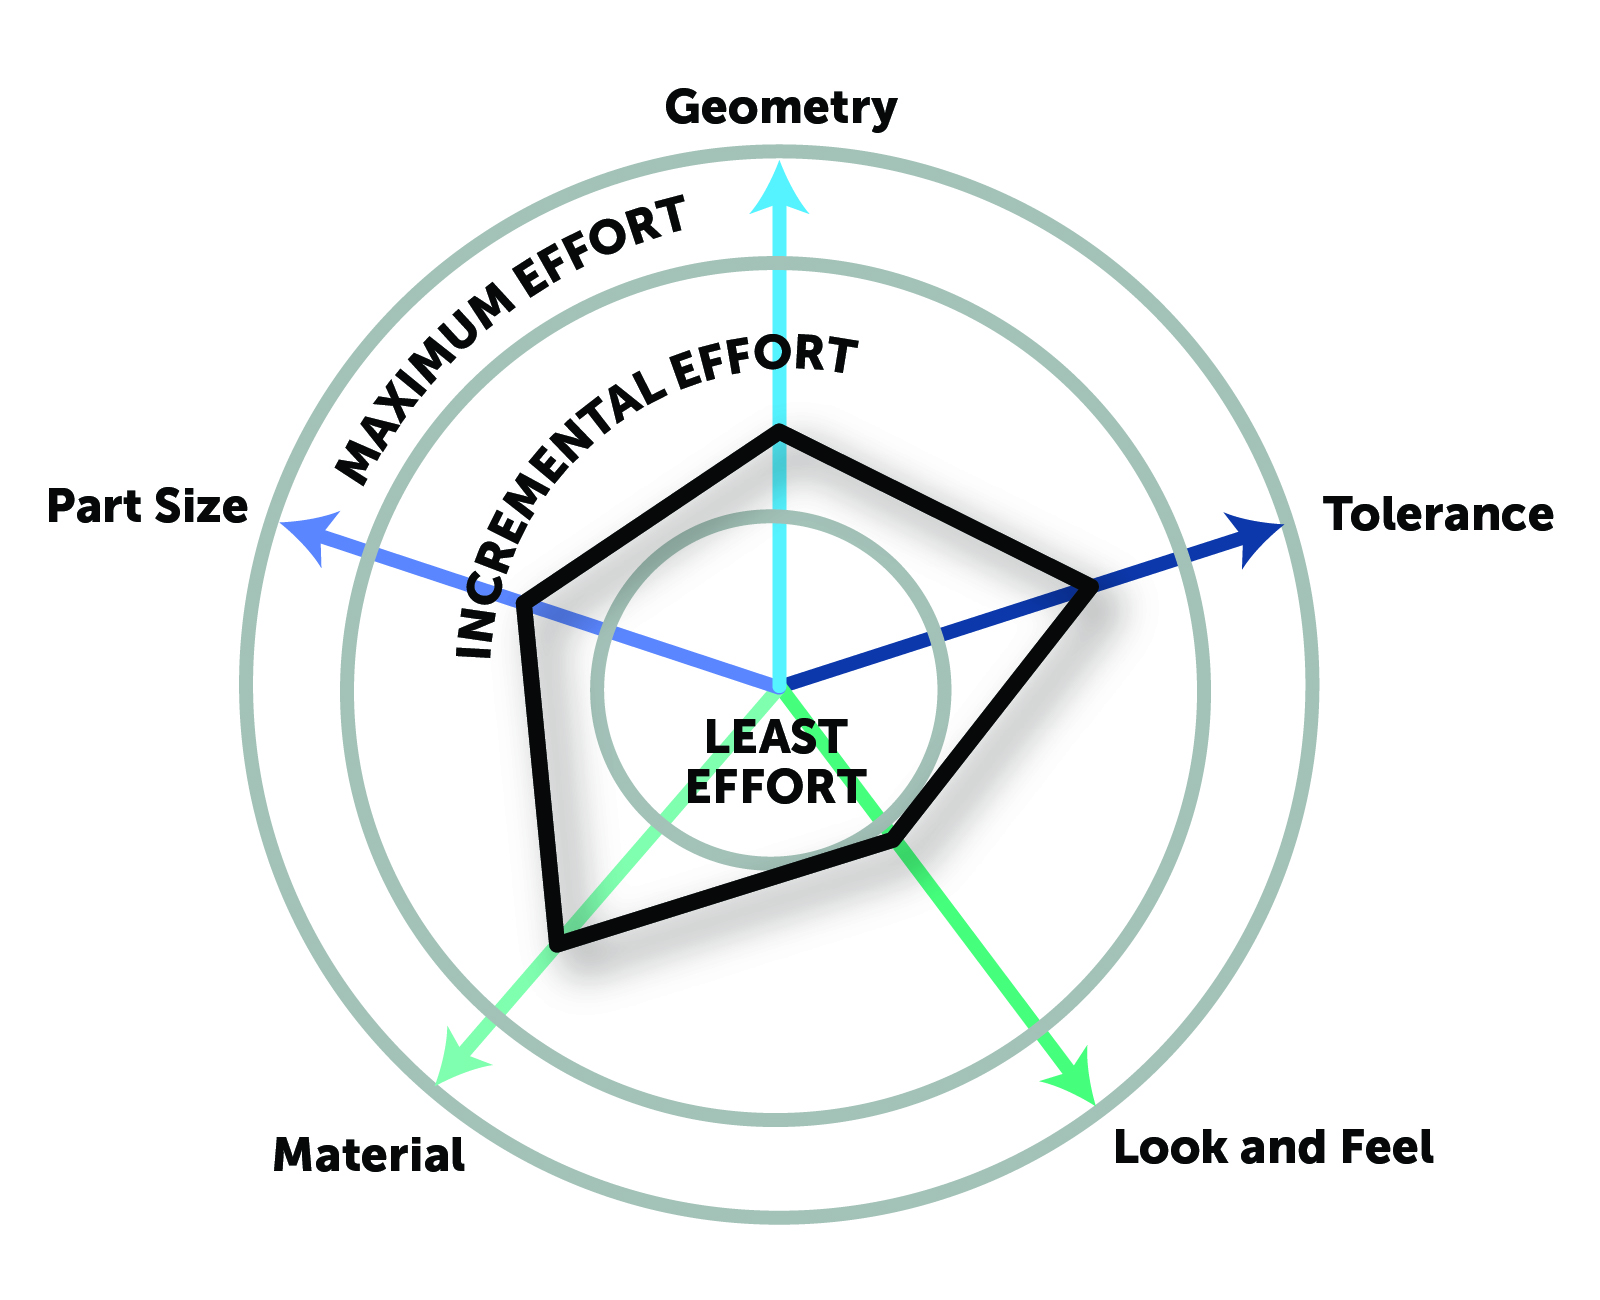
The balance required is reducing effort as much as possible for each parameter, while still meeting the design requirements. Let us take a look at each of the major parameters to see how they drive manufacturing effort for CNC machining.
Linear Tolerances and GD&T Effort Scaling

Tighter tolerance requirements are needed for mating parts, flexures, and functional geometries like fan blade profiles. Tolerance is a function of the following parameters
- Machine positional accuracy
- Tool error
- Chatter
- Cut forces
- Part stiffness
- Registration error (for tolerances between features)
- Fixture positional errors
- Temperature of the machine and part
The narrower the requirements are, and the more sources of error there are, the more effort is required to meet the tolerance requirements. More care during setup is needed to minimize errors. Machines must also be run at slower speeds to minimize chatter and tool deflection. Additionally, effective tool life is reduced, which leads to higher consumable costs.
Reducing Tolerance Effort
To reduce effort, specify tighter tolerance only on critical dimensions, such as mating surfaces and leave non-critical dimensions looser. Fictiv supports multiple tolerances on a single part. Specify the required tolerance on the drawing that you upload. You should also reduce the number of error sources as much as possible. For example, eliminate the need for soft jaws by adding clamping features to the part.
CNC Machine Degrees of Freedom and Geometric Complexity

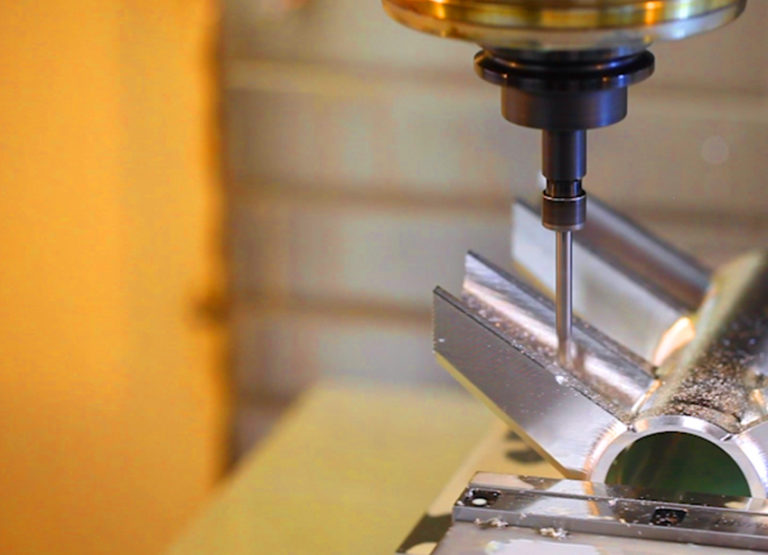
From Module 1, the simplest geometries are machinable with a 3-axis CNC, without using 3D machining.
Least Effort CNC Machining – 3-Axis without 3D Machining, Square End Mill*

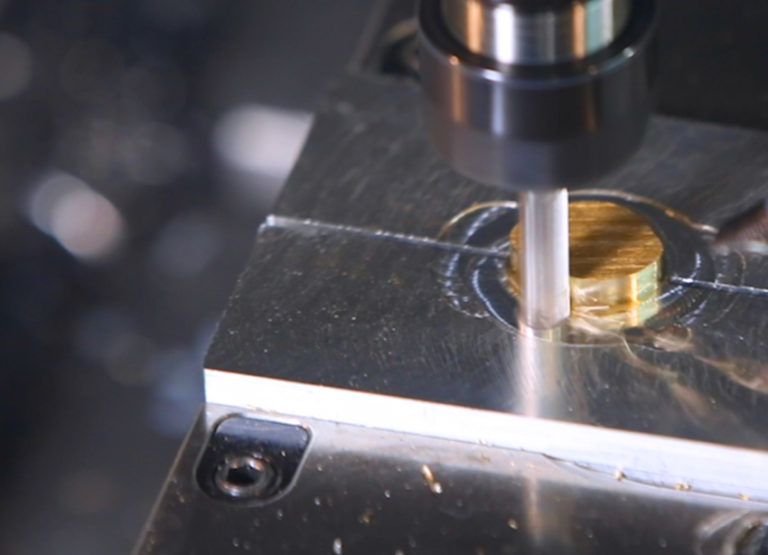
It is necessary to use more complex techniques when geometries include surface normals that are not orthogonal to the tool. The first step for machining higher geometric complexities is 3D machining and 3+2 machining. 3+2 machining uses a standard 3-axis mill, plus a fixture that can rotate in 2-axis. 3+2 machining has the same degrees of freedom as a 5-axis machine, but the fixture does move during machining. This allows for the machining of a limited number of non-orthogonal surfaces to any surface roughness. However, continuously changing surfaces are not manufacturable because the number of setups grows without bound.
3 + 2 Machining, Square End Mill*

3D machining uses the standard 3-axis setup, except that the z-axis varies continuously during the cut. This technique allows for milling of external non-orthogonal or compound surfaces, at the expense of higher surface roughness.
3-Axis with 3D Machining, Square End Mill*

If part geometries have internal compound surfaces or require simultaneous movement of the tool and the fixture, then a full 5-axis machine is needed (see Module 3).
Geometric complexity increases manufacturing effort because the required machines are limited in number, programming is more challenging, and machinists with more advanced expertise are required to run them. Designers may target a desired machining method, but ultimately it is up to the manufacturer to determine which method is most appropriate for the design.
Higher geometric complexity also leads to higher effort if there are no flat surfaces to clamp to. In this case, the manufacturer will need to create a custom soft-jaw fixture to match the geometry which requires additional manufacturing time, and material cost.
Tools and Incremental Effort
Specific geometries, such and undercuts and narrow slots, require expanding the basic Least Effort tool set to include:
- Bull Nose
- Keyset Cutters
- Slitting Saws
These tools add effort because they require additional programming and most often additional setups. Custom ground tools are also possible, but at the expense of increased lead time and cost. This increases manufacturing effort significantly and should only be used if absolutely required. Non-standard threads are also possible to manufacture, but it will not be possible to use standard thread checkers to validate the thread.
Reducing Geometry Effort
The machining techniques set the overall effort associated with the design. If possible, adjust the design geometry, so you can use 3D machining or 3+2 machining vs. 5-axis. After that, reduce the number of setups needed by limiting the number of faces that need to be machined. Finally, limit the number of tool changes needed for specialized geometry, like slits.
CNC Part Size Scaling

For milled parts with a short dimension greater than 6 in, the manufacturing effort begins to increase because fixturing becomes more difficult. Maintaining tight tolerance across long dimensions is also harder. Also at larger sizes, materials become harder to source, and physical weight becomes significant.
As part sizes shrink below 3 in (25.4 mm), the material gets weaker, and warping becomes an issue. Fixturing can easily deform parts at these dimensions, and machines run slower to minimize cut force.
A special case is for thin sheets, which may be large but have a thickness of less than 0.1 in. Machining this geometry is extremely challenging because it is hard to prevent warping. Designing to the closest stock thickness eliminates this issue. At Fictiv, any dimension that is less than this 0.1 in will be adjusted to the closest stock thickness.
Reducing Part Size Effort
For many designs, the size of the part is fixed by the application, so options for reducing effort are limited. One example is where new requirements mean the part must grow in size. In that situation, keeping 1 dimension under 6 inches will mean a low effort standard fixture is still usable.
Effort Scaling for Materials

Structural parts may need high strength to resist static or dynamic loads. Flexible parts need materials with high elastic and fatigue strength. The material sets the baseline for manufacturing effort. Materials that are harder require slower cutting speeds and wear tools faster. On the other hand, they can withstand higher loads, and therefore, thinner geometries are possible. Plastic parts, while they are softer, are affected by thermal deformation more than metals, and it is more challenging to achieve narrow tolerances. The table below shows the relative effort to machine the same geometry from different materials.
Material Relative Effort
| Effort | Metals | Plastic |
|---|---|---|
| Least | Aluminum Brass | Delrin PTFE |
| Incremental | Copper Bronze Steel Cast Iron | ABS PPS HDPE Acrylic Nylon |
| Maximum | Stainless Steel A2 Tool Steel Titanium | Polypropylene Polycarbonate UHMW PEEK Ultem |
Reducing Material Effort
If the material is fixed by the design requirements, then its associated machining effort is also fixed. If there is flexibility, then consider materials that have a better machinability. Also, do not fight against what a material can provide. For example, attempting to machine narrow tolerances into plastic is higher effort because plastics have lower thermal stability than metal. In cases like this, switching to a metal material may be lower effort overall.
CNC Milling Finish and Effort Scaling

Beyond intrinsic fillets and breaking edges, each additional finished surface or filleted edge adds effort. Though this may seem trivial, the number of operations can become large, especially for internal features. Smooth surface roughness requires slow machine passes and potentially more tool changes. Fillets are separated by effort as follows:
| Low | Internal vertical edges. External vertical edges, |
| Incremental | External horizontal edges |
| High | Internal horizontal edges, non-orthogonal edges |
Rounding external edges also increases manufacturing effort because the tool has to be placed very precisely, or 3D machining must be used. Internal horizontal edges or non-orthogonal edges can run into reachability issues or complex tool paths.
Another operation that can add significant effort is engraving. Specialized fonts for engraving on turned parts require an additional milling setup. To help reduce effort for engraving, Fictiv offers a standard profile with a predefined and validated font.
Reducing Look and Feel Effort
Look and feel may not have the most dramatic effort function, but it can result in significant effort if many surfaces or edges are touched. For surface roughness, fine finishes are possible in CNC, but other processes, like electropolishing, may produce better results. Consider the additional effort of adding in another manufacturing step vs. the effort to machine to a fine roughness. For fillets, minimize cut depth for internal horizontal edges, or use a bullnose tool to machine the fillet in a single step.
Conclusion: Driving Down Manufacturing Effort
The incremental effort region is where most designs reside because most designs have at least one parameter that drives higher effort. Designing in this region is a balance between maximizing design performance and minimizing manufacturing effort. In CNC machining, this region effort is dominated by tolerance and part geometry, though it is possible for any parameter to cause significant effort. See the list below for a summary of techniques for reducing effort in this region.
Incremental Effort DFM Checklist for CNC Machining
Download the checklist as a handy reference guide here!
Tolerance
- Limit narrow tolerance to only the critical dimensions
- Eliminate error sources, like soft jaws
Geometry
- Simplify geometry to avoid 5-axis machining
- Limit sets up by limiting the number of faces that need machining
Part Size
- Leave one dimension within 6 inches, so that the machinist can use a standard fixture
Material
- Go as low as possible on the material effort chart, while still meeting the design requirements.
- Align material characteristics with highest priority design requirements
Look and Feel
- For surface finish, look at other processes, such as electroplating, that may be lower effort.
- Prioritize fillets by their effort: internal vertical, external horizontal, internal horizontal, compound edges.
- Avoid engraving. If required, use the manufacturers standard font.
